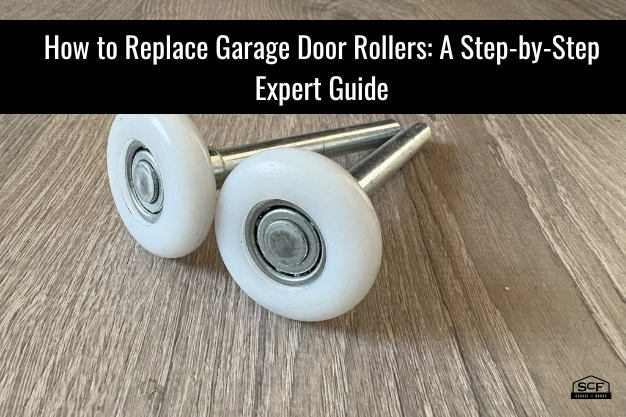
A noisy or shaky garage door can be more than just annoying—it can be a sign that your rollers are worn out. Replacing garage door rollers is a key part of regular maintenance. It helps your door run smoothly and prevents long-term damage. In this expert guide, we’ll walk you through how to replace garage door rollers the right way.

Why Garage Door Rollers Matter
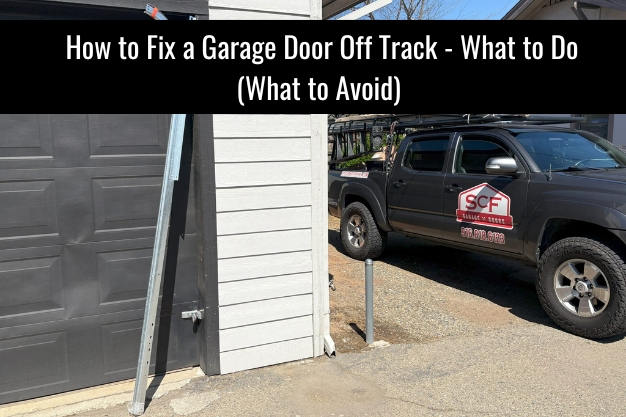
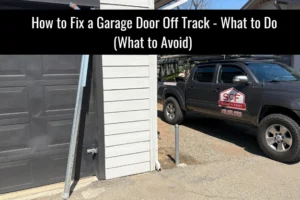
Garage door rollers help your door glide up and down the track. When they’re in good shape, your door works quietly and safely. But over time, rollers can wear out, crack, or even break off. If you’re hearing grinding or squeaking, or your door feels jerky, it might be time for changing garage door rollers.
Safety First: What You Need to Know
Before you begin, remember: garage doors are heavy and under high tension. Always follow safety steps. If you’re unsure, it’s best to call a professional. But if you’re comfortable with tools and safety gear, this guide will help you replace garage door rollers like a pro.
Tools & Materials Needed
- Locking pliers or clamps
- Flathead screwdriver
- Socket wrench
- New garage door rollers (nylon or steel)
- Safety gloves and glasses
- Step ladder
Step 1: Disconnect the Garage Door Opener
Start by unplugging the garage door opener. You want to make sure there’s no power going to the motor. Then, pull the emergency release cord to disconnect the door from the opener. This will let you move the door manually.
Step 2: Open the Garage Door Fully
Lift the garage door until it’s fully open. Use locking pliers or clamps to hold it in place. This keeps it from falling while you’re working on the rollers. Always double-check that the door is secure before moving on.
Step 3: Remove the Roller Brackets (One at a Time)
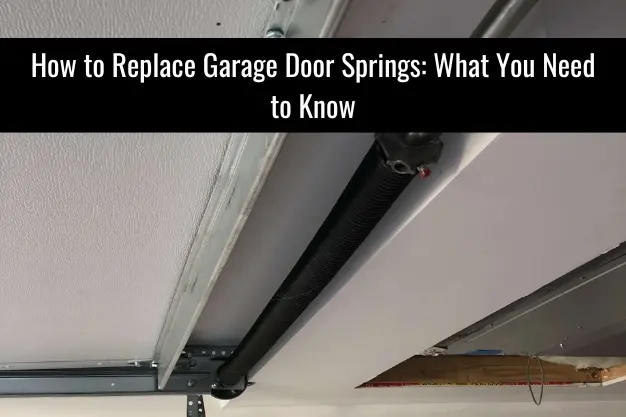
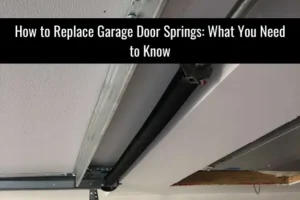
Locate the rollers and the brackets that hold them in place. Never remove the bottom bracket—it’s attached to the spring system and can be very dangerous. Start with the rollers along the side near the top.
Use your socket wrench to loosen and remove the bolts on the roller bracket. Gently pull the bracket away from the track, allowing you to slide the old roller out.
Step 4: Install the New Rollers
Take your new roller and slide it into the bracket. Then, carefully guide it back into the track. Re-tighten the bolts with your socket wrench. Make sure the roller spins freely and is seated properly in the track.
Step 5: Repeat for Each Roller
Continue replacing each roller one at a time, moving down the side of the door. Skip the bottom roller unless you’re trained to deal with high-tension components. A professional should handle bottom roller replacement for safety reasons.
Step 6: Test the Door
Once all accessible rollers are replaced, remove the clamps and slowly lower the door. Reconnect the opener by pulling the emergency release cord again. Plug the opener back in and test the garage door. It should move more smoothly and quietly.
When to Call a Pro
Some parts of the door—especially the bottom rollers and spring system—can be risky to handle. If you’re not confident, don’t take the risk. Professional technicians have the tools and training to do the job safely and correctly.
Nylon vs. Steel Rollers: What’s Best?
When you replace garage door rollers, consider your options. Nylon rollers are quieter and require less maintenance. Steel rollers are more durable, especially in high-use doors, but they can be noisy. For most homes, nylon is the better choice.
Final Tips for Roller Maintenance
- Check your rollers every 6 to 12 months.
- Lubricate them with a silicone-based garage door lubricant—not WD-40.
- Look for signs of wear like cracks or flattened edges.
Conclusion
Knowing how to replace garage door rollers can save you time, money, and stress. A smooth garage door adds convenience and safety to your daily routine. If you’ve noticed noise, stiffness, or uneven movement, changing garage door rollers may be the fix you need.
At SCF Garage Doors, we specialize in professional garage door services. Whether you want expert installation or a simple repair, we’re here to help. Contact us today for fast, reliable service you can trust.
Q1. How do I know if my garage door rollers need replacing?
If your garage door makes loud noises, moves unevenly, or feels jerky, your rollers may be worn out. Cracked, wobbly, or stuck rollers are signs to replace them.
Q2. Can I replace garage door rollers myself?
Yes, you can replace most rollers with basic tools, but avoid removing the bottom rollers—they’re under high tension. For safety, call a pro for those.