


Garage doors are heavy. Without the springs, they can’t open or close the right way.
If you’re having trouble with your garage door, the springs might be broken or worn out. In this blog, we’ll explain how to replace garage door springs, what to watch out for, and why calling a pro might be the safest option.
What Are Garage Door Springs?
Garage door springs are tightly wound coils of metal. They carry most of the weight when the door opens or closes. Springs make it easier for the door to move. If the springs break, your door might stop working, get stuck, or fall fast. That’s dangerous.
There are two types of garage door springs:
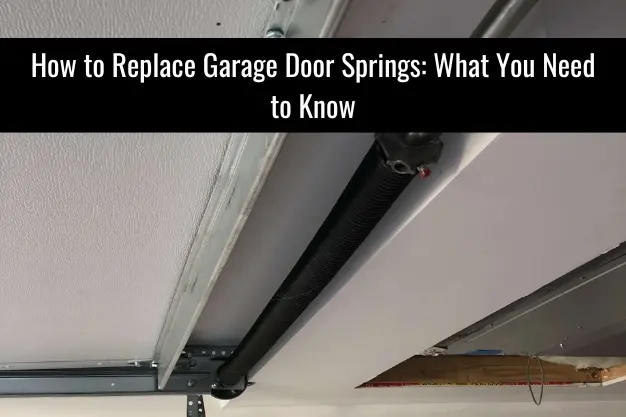
- Torsion Springs – These are above the door and twist to lift the door.
- Extension Springs – These are on the sides and stretch to help the door move.
Signs You Need Garage Door Spring Repair
Before you learn how to repair garage door springs, you should know when it’s needed. Here are a few signs:
- Your garage door won’t open or only opens halfway.
- The door feels very heavy.
- You hear a loud bang from the garage.
- The springs look stretched, loose, or broken.
- The door is crooked or unbalanced.
If you see any of these, it may be time for Garage Door Spring repair.
Can You Replace Garage Door Springs Yourself?
Many people wonder if they can do it on their own. The short answer? It’s risky.
Replacing garage door springs is not like fixing a squeaky hinge. These springs are under a lot of tension. If they snap while you’re working, you could get hurt.
That’s why it’s always better to let a trained technician handle it. However, if you’re still curious about how to replace garage door springs, here’s a simple overview.
How to Replace Garage Door Springs (Overview Only)
Warning: This is for educational purposes. Attempting repairs without training can be dangerous.
Step 1: Disconnect the Opener
Unplug your automatic garage door opener. This keeps it from turning on while you’re working.
Step 2: Clamp the Door
Clamp the door in place using locking pliers. This keeps it from falling.
Step 3: Loosen the Old Springs
Use winding bars to loosen the tension in the old torsion spring. This must be done slowly and carefully.
Step 4: Remove the Springs
Unscrew and slide the springs off the torsion bar.
Step 5: Install New Springs
Slide new springs onto the bar. Make sure they are the correct size for your door.
Step 6: Wind the Springs
Use winding bars to twist the new springs to the right tension.
Step 7: Test the Door
Remove the clamp and test the door to make sure it opens and closes smoothly.
Why You Should Choose a Garage Door Repair Pro
Even though you can read about how to repair garage door spring, doing it is another story. Mistakes can lead to injury or damage to your home. That’s why hiring a licensed professional is the smart move.
Professional Garage Door Spring repair includes:
- Correct spring selection
- Safe removal and replacement
- Proper tension adjustment
- Full door safety check
SCF Garage Doors, our trained techs handle everything for you—fast, safe, and stress-free.
How Much Does Garage Door Spring Repair Cost?
Costs can vary depending on the spring type and your door’s size. Most homeowners spend between $150 to $300 for Garage Door Spring repair. This often includes labor, new springs, and a warranty.
DIY kits may seem cheaper, but they don’t come with safety or expert service.
Final Thoughts
Now you know more about how to replace garage door springs. You also know that Garage Door Spring repair is not an easy fix. It’s dangerous and can go wrong quickly.
If your springs are broken, don’t wait. Call a trusted garage door expert who knows how to repair garage door spring systems safely and quickly.
Need help for garage door spring repair in sacramento? Contact SCF Garage Doors today. We’ll get your door working again—safely and fast.