

Installing a new garage door is a significant home improvement project that can dramatically enhance your home’s curb appeal, security, and energy efficiency.
While the idea of a DIY garage door installation might seem appealing to save on costs, it’s crucial to understand the complexities and inherent dangers involved. A garage door is the largest and heaviest moving part of your home, and its spring system operates under extreme tension.
Improper installation can lead to severe injuries, damage to your property, and costly repairs down the line. This comprehensive guide will walk you through the theoretical steps of how to install a garage door safely, emphasizing the critical points where professional expertise becomes indispensable, especially when considering garage door installation Sacramento homeowners face with varied home styles and local regulations.
While we detail the process for understanding, we strongly recommend professional installation due to the serious risks involved.
Important Disclaimer: Prioritize Safety & Professional Expertise
This guide is for informational purposes only. Attempting a full garage door installation, especially the spring system and opener, without professional training, specialized tools, and extensive experience is extremely dangerous and can lead to severe injury or death. Garage door springs are under immense tension and can cause significant harm if mishandled.
Electrical work involved in garage opener installation also carries risks. Always consult and hire certified professionals for garage door installation Sacramento for your safety and to ensure code compliance.
Phase 1: Preparation is Key
Before any physical installation begins, meticulous preparation is non-negotiable.
1. Gather Your Tools and Materials:
While a professional installer will have a full suite of specialized tools, for conceptual understanding, you’d typically need:
- Basic tools: Tape measure, level, drill, wrenches (socket and open-end), screwdrivers, hammer, pliers.
- Safety gear: Heavy-duty work gloves, safety glasses.
- Specialized tools (critical for springs, typically professional-only): Torsion spring winding bars, C-clamps, vice grips.
- Garage door kit: This includes all panels, tracks, rollers, hinges, hardware, and springs.
- Garage door opener kit: If you’re also doing garage opener installation.
- Ladders: Two sturdy step ladders.
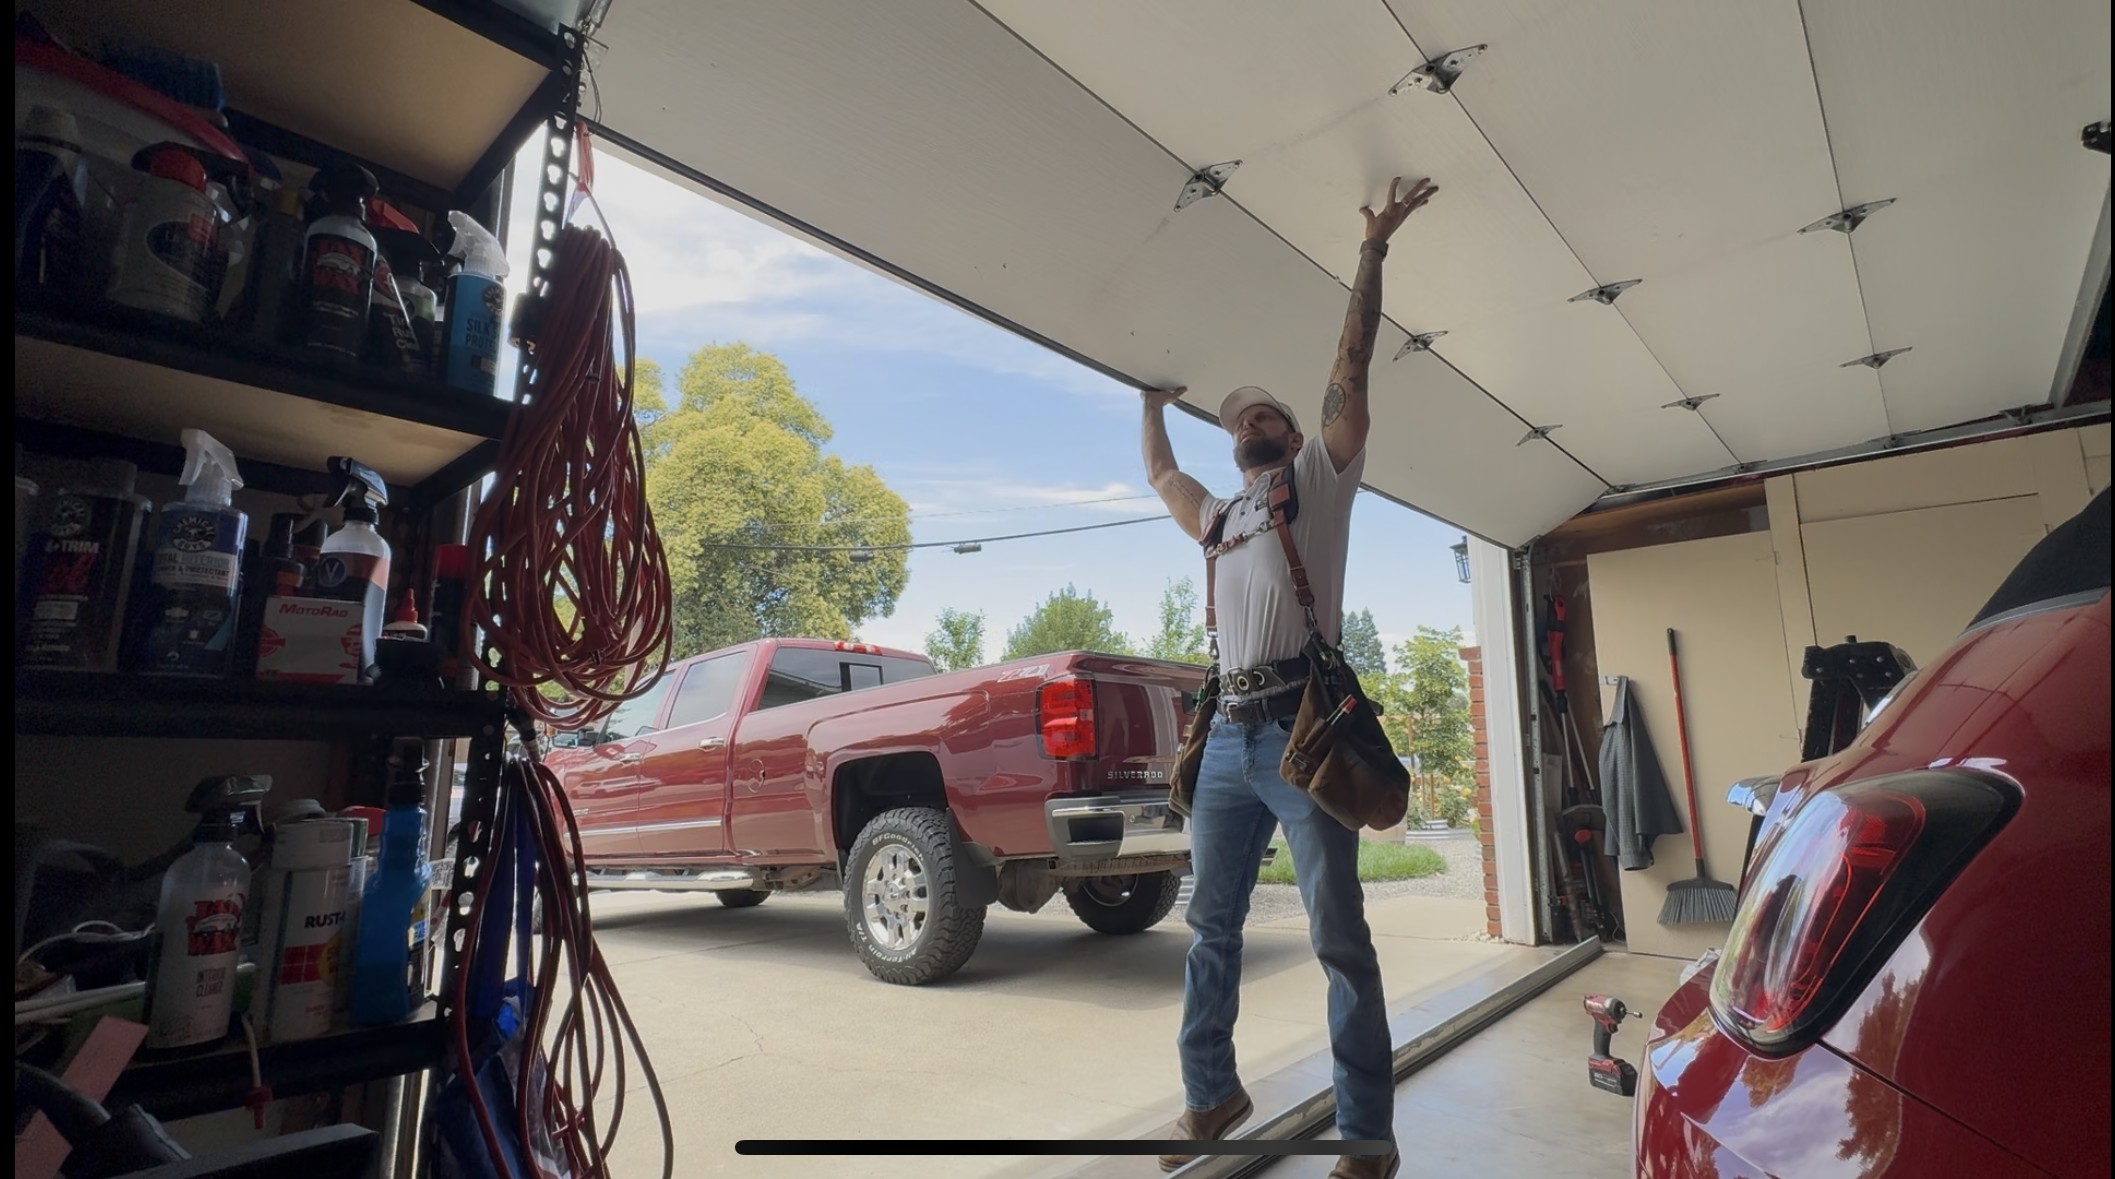
Don't Risk a Dangerous DIY Installation
2. Clear the Workspace & Ensure Structural Integrity:
- Clear the Garage: Remove vehicles, tools, and any obstacles from the garage floor and walls where the door and tracks will be installed.
- Inspect the Opening: Examine the door frame. The jambs (sides) and header (top) must be plumb, level, and square. Any rot, damage, or structural weakness must be repaired before installation. The opening should be correctly sized for your new door.
- Check Headroom, Sideroom, and Backroom:
- Headroom: The vertical space from the top of the opening to the ceiling. Standard torsion springs require 10-12 inches. Extension springs require about 10 inches. Low-headroom kits exist if space is minimal.
- Sideroom: The horizontal space from the edge of the opening to the side wall. Typically 4.5 inches on each side for tracks.
- Backroom: The depth from the opening back into the garage. Needs to be the door’s height plus 18 inches for standard tracks.
- Electrical Outlet: For garage opener installation, ensure a grounded 15-amp, 120-volt outlet is available on the ceiling within 6 feet of the opener’s planned location. If not, professional electrical work may be required.
3. Read the Instructions (Thoroughly!):
Every garage door manufacturer will have specific instructions for their product. It is absolutely imperative to read these instructions carefully, from start to finish, before beginning. Do not assume all garage doors install identically.
Phase 2: Installing the Door Panels
This phase involves assembling the door itself, panel by panel.
1. Install the Bottom Bracket and Weather Seal:
- Attach the bottom brackets to the bottom section of the door.
- Secure the bottom weather seal (astragal) to the bottom edge of the first panel. This seal prevents water and debris from entering under the closed door.
2. Place the First Panel:
- Carefully position the bottom panel in the garage door opening. Ensure it is perfectly level. Use temporary C-clamps or vice grips to hold it in place and prevent it from moving while you work.
3. Attach Hinges and Rollers to the First Panel:
- Install the side hinges (numbered hinges go on specific panels) and bottom rollers into the appropriate slots on the first panel. These rollers will guide the door along the tracks.
4. Install Subsequent Panels:
- Lift the second panel into place, ensuring its groove fits securely over the top edge of the first panel.
- Attach the hinges that connect the first and second panels.
- Install rollers into the side hinges of the second panel.
- Repeat this process for all remaining panels, working your way up to the top. Ensure each panel is securely seated and hinged. The top panel will typically have specific brackets for the top rollers.
Phase 3: Setting Up the Track System
The track system guides the door panels smoothly up and down.
1. Install Vertical Tracks:
- Attach the vertical track sections to the brackets on the side of the garage door opening.
- Position them so that the rollers on the door panels fit securely within the track.
- Use a level to ensure the vertical tracks are perfectly plumb (straight up and down).
- Temporarily secure the tracks, but don’t fully tighten all bolts until the entire system is assembled and aligned.
2. Assemble and Install Horizontal Tracks:
- Connect the horizontal track sections to the vertical tracks. These sections will run back into the garage, parallel to the ceiling.
- Use hanging brackets (typically angle iron) to secure the far ends of the horizontal tracks to the garage ceiling joists.
- Ensure the horizontal tracks are perfectly level and parallel to each other.
- Make sure the tracks are also square to the door opening.
- The horizontal tracks should slope slightly downwards towards the door opening (about 1/8 inch per foot) to help the door seal properly.
3. Install the Cables:
- Attach the lifting cables to the bottom brackets of the door.
- Route the cables up along the side of the door and over the cable drums, which are mounted on the torsion spring shaft (or connect to extension springs). This is a precise step.
Phase 4: The Critical and Dangerous Spring Installation
THIS IS THE MOST DANGEROUS PART OF THE INSTALLATION. WE STRONGLY ADVISE AGAINST DIY ATTEMPT. The springs are under immense tension and can cause severe injury or death if mishandled.
1. Install the Torsion Spring System (Professionals Only):
- Mount the Spring Anchor Bracket: This bracket holds the center of the torsion spring system to the header above the door.
- Assemble the Torsion Bar: Slide the torsion springs (one or two, depending on the door), cable drums, and center bearing onto the torsion shaft.
- Mount the Torsion Assembly: Carefully lift and secure the entire torsion assembly to the spring anchor bracket and end bearing plates, which are attached to the header and jambs.
- Attach Cables to Drums: Secure the lifting cables to the cable drums.
- WIND THE SPRINGS (EXTREMELY DANGEROUS): This is the most critical step. Using specialized winding bars, the technician will gradually and carefully apply tension to the torsion springs. The number of turns is precise and dictated by the manufacturer’s specifications for the door’s weight and height. Incorrect winding can lead to an unbalanced door, premature wear, or catastrophic spring failure. This step requires immense caution and expertise.
2. Install the Extension Spring System (Professionals Only):
- Mount Pulleys and Hanging Hardware: Install the pulley supports and pulleys to the ceiling joists above the horizontal tracks.
- Attach Extension Springs: Connect the extension springs to the track hangers on the far end of the horizontal tracks and thread the cables through the pulleys to the bottom brackets.
- Install Safety Cables: Crucially, safety cables must be threaded through the center of each extension spring and secured to the ceiling brackets and track hangers. If an extension spring breaks, the safety cable prevents it from flying dangerously across the garage.
- Adjust Spring Tension: Adjust the tension of the extension springs to properly balance the door. This also requires expertise and careful calibration.
Phase 5: Garage Opener Installation
Once the door and spring system are correctly installed and balanced, the garage opener installation can proceed.
1. Mount the Opener Unit:
- Center the Opener: Determine the center point of the garage door opening and mark it. The opener’s power unit will typically be mounted to the ceiling above this point.
- Install Hanging Brackets: Securely fasten mounting brackets to the ceiling joists to support the opener unit.
- Mount the Opener: Attach the opener’s power unit to the hanging brackets, ensuring it is level and stable.
2. Install the Track and Drive Mechanism:
- Assemble the opener’s track (chain, belt, or screw drive).
- Connect one end of the opener track to the header above the garage door opening and the other end to the opener power unit.
- Ensure the track is straight, level, and securely fastened.
3. Connect the Door to the Opener:
- Attach the curved door arm (extension arm) from the top of the garage door to the opener’s trolley. This arm connects the door to the opener’s drive mechanism.
4. Install Safety Sensors:
- Mount the photo-eye safety sensors (transmitter and receiver) on either side of the garage door tracks, typically 4-6 inches above the garage floor.
- Ensure they are perfectly aligned with each other. The indicator lights on the sensors will confirm alignment.
- Run the low-voltage wiring from the sensors back to the opener unit and connect them.
5. Install the Wall Control Button:
- Mount the wall control button (also known as the push-button or control panel) in an easily accessible location, at least 5 feet off the floor (out of reach of small children).
- Run the low-voltage wiring from the wall control to the opener unit and connect it.
6. Electrical Connection:
- Plug the garage door opener into the dedicated grounded electrical outlet on the ceiling.
Phase 6: Final Adjustments and Safety Checks
This final phase is critical for the safe and smooth operation of your newly installed garage door system.
1. Test Door Balance (Crucial!):
- Disconnect Opener: Pull the red emergency release cord to disconnect the door from the opener.
- Manual Lift Test: Manually lift the door halfway. It should remain stationary without assistance. If it falls or springs up, the springs are improperly tensioned. This requires professional spring adjustment.
2. Adjust Opener Force and Limit Settings:
- Limit Settings: Adjust the opener’s “up” and “down” limit settings so the door stops in the correct open and closed positions without overtraveling or leaving gaps.
- Force Settings: Adjust the “up” and “down” force settings to the minimum required to operate the door. The door should reverse if it encounters a small obstruction. Never set the force too high, as this can override safety features. Consult your opener’s manual for specific instructions.
3. Test Safety Sensors (Photo-Eyes):
- Place an object (like a cardboard box) in the path of the safety sensors. When the door is closing, it should reverse immediately when the beam is broken.
- Test Auto-Reverse (Contact Reversal): Lay a 2×4 piece of wood flat on the garage floor where the door closes. When the door hits the wood, it should immediately reverse direction and open. If it doesn’t, do NOT use the opener until this safety feature is working correctly.
4. Program Remotes and Keypads:
- Program all remote controls and wireless keypads according to the opener’s manual.
5. Lubricate Moving Parts:
- Apply a silicone-based or lithium grease lubricant to all moving metal parts: rollers, hinges, springs, and bearings.
Garage Door Installation Cost: What Influences It?
When budgeting for garage door installation Sacramento, several factors contribute to the final cost:
- Type and Material of Door: Steel, wood, aluminum, fiberglass – each has a different price point.
- Insulation: Insulated doors (higher R-value) cost more initially but offer energy savings.
- Door Size: Custom or oversized doors will be more expensive.
- Opener Type: Chain, belt, screw, or direct drive, plus smart features and battery backup, impact cost.
- Removal of Old Door: Usually included in professional quotes.
- Structural Repairs: If the opening needs reframing or repair, this adds cost.
- Permits: Local building permits may be required.
- Professional Labor: This is a significant portion of the cost, but it’s an investment in safety and correct installation. The garage door installation cost can range widely, but expecting between $1,500 to $4,500 (including a new door and opener) is a common range for a standard residential setup.
Conclusion
A new garage door is a fantastic upgrade for any home, offering a blend of aesthetics, security, and convenience. While this guide provides a detailed look into how to install a garage door safely, it critically underscores the inherent dangers and complexities involved, particularly with the spring system and garage opener installation. For garage door installation Sacramento homeowners, choosing a professional, certified garage door installer isn’t just a recommendation—it’s an imperative for your safety and to ensure the longevity and correct operation of your new door. They possess the specialized tools, training, and experience to execute the job flawlessly and adhere to all local codes, making the garage door installation cost a worthwhile investment for peace of mind.
Considering a new garage door for your home? Don’t risk a dangerous DIY installation. Contact SCF Garage Doors today! Our team of experienced and certified professionals specializes in safe and efficient garage door installation in Sacramento and surrounding areas. We’ll help you choose the perfect door for your home and ensure a flawless, safe installation from start to finish.
View our service to schedule your free consultation and take the first step towards a beautiful, safely installed new garage door!